Polymer Gravure printing

I can’t exactly remember when I first came across polymer gravure printing. It is a modern variant of the copperplate gravure process that the photographers  Alvin Langdon Coburn and Edward Steichen used to great effect in the early 20th century. Maybe it was the book of Mr Coburn’s work I was given whilst at college.  All I know is that it has been driving me nuts for at least two years, as several attempts haven’t got me very far.

Two weeks ago I attended a three day course at Rabley Drawing Gallery in Marlborough, run by printer Martyn Grimmer with the intention of of improving my understanding of this dark art. A steep learning curve, but after returning yesterday for another session, I managed to ‘pull’ my first (fairly good) print! The results:


The plate, shown here drying in the sun.

The plate, shown here drying in the sun.


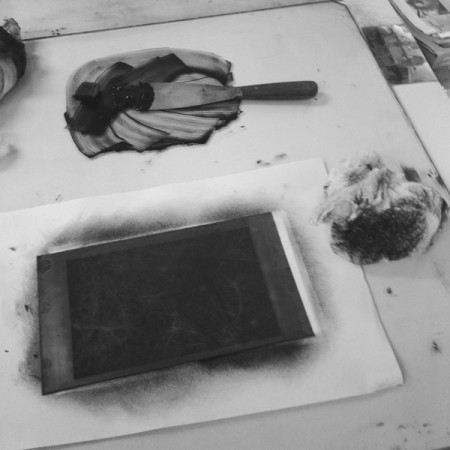
The plate being inked before taken through a print press

The plate being inked before taken through a print press


A print not quite right - apparently this is called mid-tone measles. The only cure is to start again.

A print not quite right - apparently the patches are called mid-tone measles. The only cure is to start again.


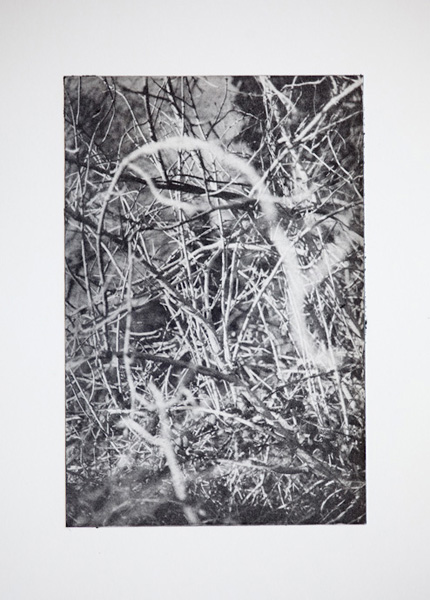
And when it comes out as it should.

And when it comes out as it should.


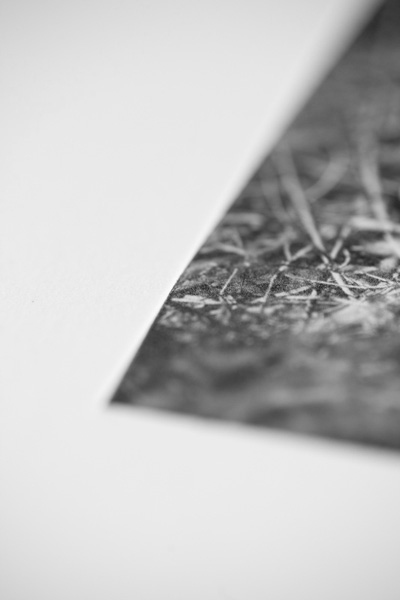
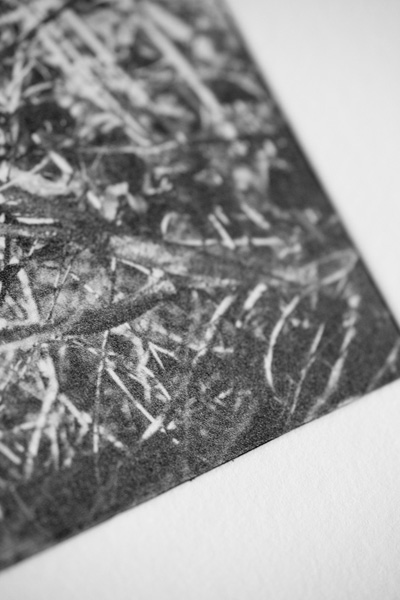
Details, showing the embossing

Detail


Details, showing the texture of the ink in the photograph

Details, showing the texture of the ink in the photograph


Alternative print processes

Last week the printer and photographer, Jack Lowe, added a new posting to his blog about Calotype printing. He has been experimenting with digital negatives suitable for old print processes, and has collaborated with photographer Richard Freestone in producing two prints using the Calotype process. This struck a chord with me. During the late 1990’s, I spent a long time in my darkroom working with similar techniques. My particular interests were gum bichromate and Kallitype printing.

These are contact printing processes, which require negatives the same size as the final print. The sensitized paper with the negative on top is exposed to light before developing in the required solution. In the case of gum bichromate, this is water.

A quick glossary:

Kallitype –  a suitable paper is first coated with a solution of ferric oxalate and silver nitrate.

Calotype – a suitable paper is  coated with a solution of weak salt solution, dried, then brushed with a weak silver nitrate solution, dried, making silver chloride. Fox Talbot used this process and he referred to it as the Talbotype.

Gum bichromate – a suitable paper is coated with a solution of gum bichromate mixed with water colour pigment.

Kallitypes and Calotypes may at first glance appear very similar, as they can have a similar red-brown hue.
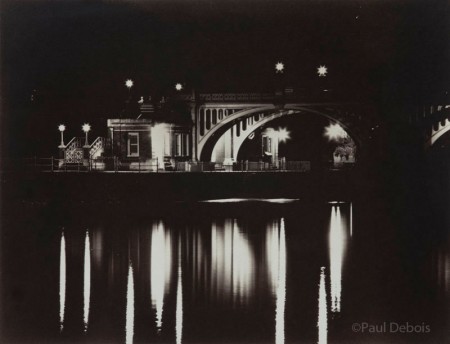
Richmond lock on River Thames - Kallitype print

Richmond lock on River Thames - Kallitype print 1998

When I made my Kallitypes, I masked the negatives to create a clean straight line edge to the print. This was due to my coating method. With Jack’s prints, a brush is used and the brush marks are left in the final images. Jack said,”It’s as if someone’s come along with a magic brush and painted the image onto the paper!”. With some of the gum bichromate images below, I used this brush technique, and have included the edges in the final print.
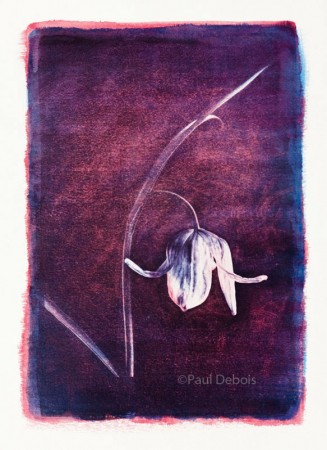
fritillaria meleagris - gum bichromate print

fritillaria meleagris - gum bichromate print 1998

With gum prints, I nearly always printed three layers of colour to build up density. This means you have to be accurate with registering the negative over the image with the subsequent layers. The whole process, with paper preparation would take around five days. The paper had to be left to dry and shrink properly before applying a new coat of sensitizer, otherwise it would be bigger than the negative, causing registration problems.

Although I think the effect can be beautiful, it made the art directors I showed the images to flinch! The time it took made them nervous. I remember showing these to the art director of Gardens Illustrated in 1998, who complimented the prints highly. But she said that, “Unfortunately the editor would not allow gratuitous flower images to be used in the magazine”. Oh well!
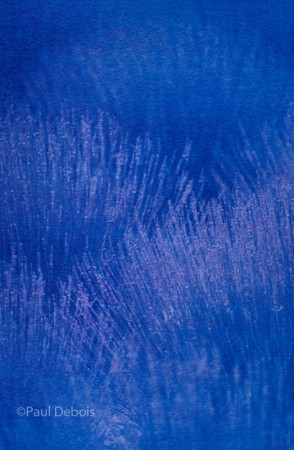
lavender - gum bichromate print

lavender - gum bichromate print 1998

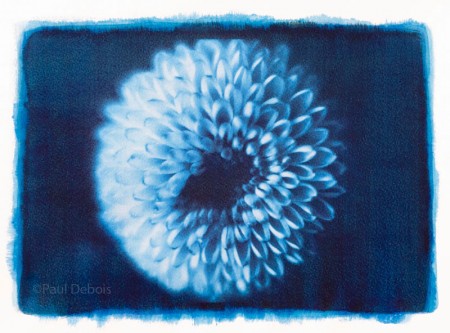
chrysanthemum - gum bichromate print

chrysanthemum - gum bichromate print 1998

It’s unlikely that I will be returning to these particular processes in the near future. My darkroom was replaced by a digital studio in 1999. But I do hope to work with Jack soon in producing some photogravure or polymer gravure images using his digital negatives. See my posting from last year. Perfecting and understanding the use of the printing plates has taken slightly longer than I hoped, but I would expect to have some images to show in the next few months.
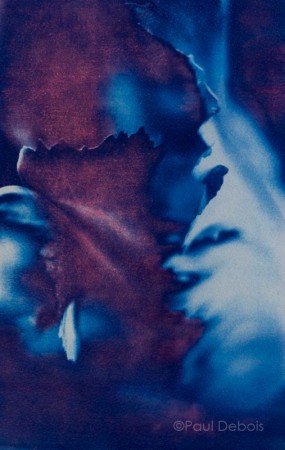
Parrot tulip - gum bichromate print, 1998
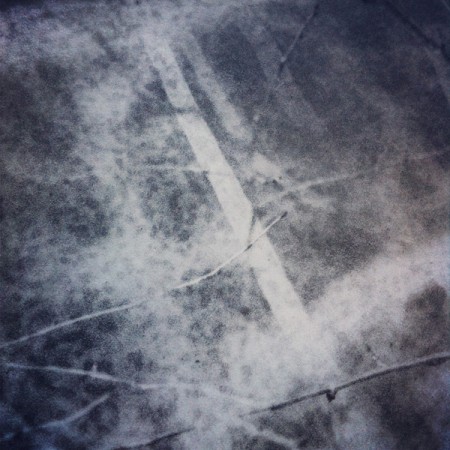
Parrot tulip - gum bichromate print, 1998
19th century revisited – Photogravure

A printing technique that has long fascinated me is photogravure, a black and white process developed in the late 19th century. Frequently seen in old books, the texture and tonality is beautiful, and very different to that you would achieve with silver gelatin printing. Often purposely dark and with lower contrast, the images may not suit everybody, but I was intrigued enough to attend a workshop recently.

With photogravure, an image is etched into a sensitized metal plate, which has been exposed to a large contact negative. The plate is inked and drawn through a press in contact with paper.  It’s not a particularly environmentally sound process, as the etching requires development in acid . But around 30 years ago, a new version was invented, using metal plates where images are etched into hardened polymer, and developed in nothing more than warm water. This new process is referred to as Photo Polymer or Polymer Gravure, depending on which side of the pond you are on.

Under the enthusiastic tutorage of Fiona Hepburn at The London Print Studio, I was taken through the various stages of the newer process with a small group of people. I was back in a darkroom for only the second time in ten years, so it was nostalgic as well as educational. It was great to operate a large printing machine again too. Though this one was different, a contact printer using ultraviolet light with the equivalent power of several dozen sun tanning beds! The original exponents of the process, such as Alvin Langdon Coburn, would have used the sun as a source of ultraviolet, with exposures lasting many hours. On dark winter days in London, this is not reliable, if not impossible – two minutes with contact printer is far more practical!

At the end of the day I inked up my plate and ‘pulled’ my first print in the huge printing press. Being a perfectionist, I probably reacted a bit like petulant schoolboy who had just scratched his favourite toy car, as there were a few dust marks around the edges of the resulting print! But after a few deep breaths, I realized that actually it was  a pretty good first attempt, as the overall image quality was fantastic.  A bit more care at the preparation stage will be needed, but with more experience I think I can use this process.

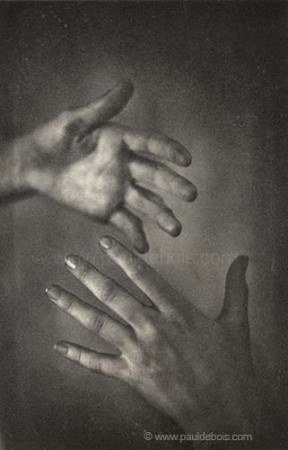
Hands - Paul Debois

Hands - Black and white polymer gravure or photo polymer print

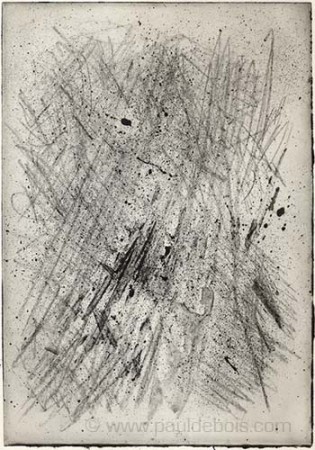
The workshop also involved transferring illustrations onto the metal  plates, as many fine artists use photo polymer in their work. As a photographer, this came as a bit of a shock. The last time I remember drawing anything, I was 12 years old! But it was interesting to see how it was done. Honest conclusion? I think I’ll stick with photography!

experimental photo polymer print

Experimental photo polymer print