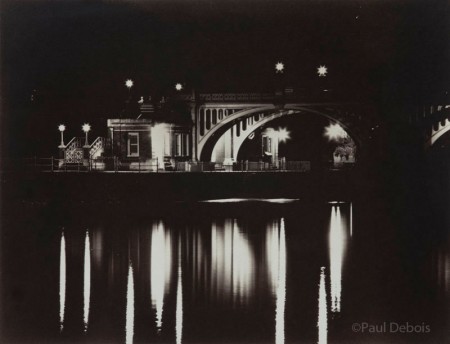
Last week the printer and photographer, Jack Lowe, added a new posting to his blog about Calotype printing. He has been experimenting with digital negatives suitable for old print processes, and has collaborated with photographer Richard Freestone in producing two prints using the Calotype process. This struck a chord with me. During the late 1990’s, I spent a long time in my darkroom working with similar techniques. My particular interests were gum bichromate and Kallitype printing.
These are contact printing processes, which require negatives the same size as the final print. The sensitized paper with the negative on top is exposed to light before developing in the required solution. In the case of gum bichromate, this is water.
A quick glossary:
Kallitype – a suitable paper is first coated with a solution of ferric oxalate and silver nitrate.
Calotype – a suitable paper is coated with a solution of weak salt solution, dried, then brushed with a weak silver nitrate solution, dried, making silver chloride. Fox Talbot used this process and he referred to it as the Talbotype.
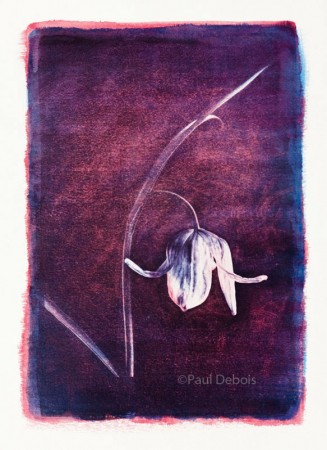
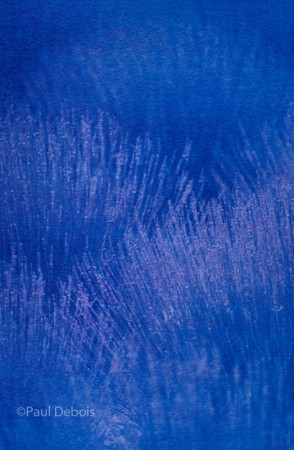
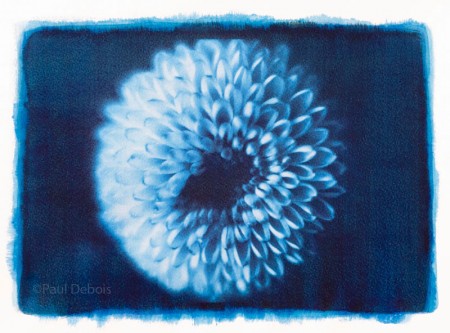
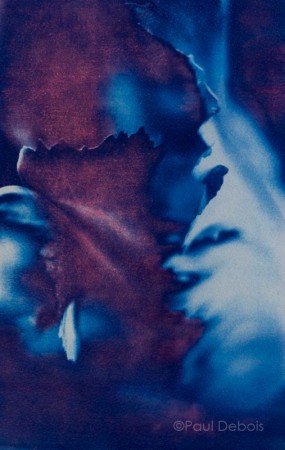
Gum bichromate – a suitable paper is coated with a solution of gum bichromate mixed with water colour pigment.
Kallitypes and Calotypes may at first glance appear very similar, as they can have a similar red-brown hue.
When I made my Kallitypes, I masked the negatives to create a clean straight line edge to the print. This was due to my coating method. With Jack’s prints, a brush is used and the brush marks are left in the final images. Jack said,”It’s as if someone’s come along with a magic brush and painted the image onto the paper!”. With some of the gum bichromate images below, I used this brush technique, and have included the edges in the final print.
With gum prints, I nearly always printed three layers of colour to build up density. This means you have to be accurate with registering the negative over the image with the subsequent layers. The whole process, with paper preparation would take around five days. The paper had to be left to dry and shrink properly before applying a new coat of sensitizer, otherwise it would be bigger than the negative, causing registration problems.
Although I think the effect can be beautiful, it made the art directors I showed the images to flinch! The time it took made them nervous. I remember showing these to the art director of Gardens Illustrated in 1998, who complimented the prints highly. But she said that, “Unfortunately the editor would not allow gratuitous flower images to be used in the magazine”. Oh well!
It’s unlikely that I will be returning to these particular processes in the near future. My darkroom was replaced by a digital studio in 1999. But I do hope to work with Jack soon in producing some photogravure or polymer gravure images using his digital negatives. See my posting from last year. Perfecting and understanding the use of the printing plates has taken slightly longer than I hoped, but I would expect to have some images to show in the next few months.

Hi Paul,
A great post and thank you for the kind mentions…
Best wishes,
Jack
These are so beautiful Paul. Thanks for sharing – and thanks to Jack for the link.
I love the old processes – I had lots of fun experimenting with all kinds of films, processes, papers etc when I did my A Level photography a while back.
I live very close to Lacock, so it’s great to have the opportunity to regularly go to theexhibitions Fox Talbot Museum. I’m assuming your latest IGPOTY success will be shown in the Abbey grounds next year
HI VP,
It’s a shame that I can’t do them at the moment. As it’s a real back to basics approach, it’s rewarding when the images work!
Hi Julia,
Thanks for your kind comments! I’ve had these images filed away for 10 years, so it’s nice to see them again.